Follow these steps to complete the process to verify your identity with RSAC.
1. Open the iOS App and tap your profile icon in the upper right hand corner.

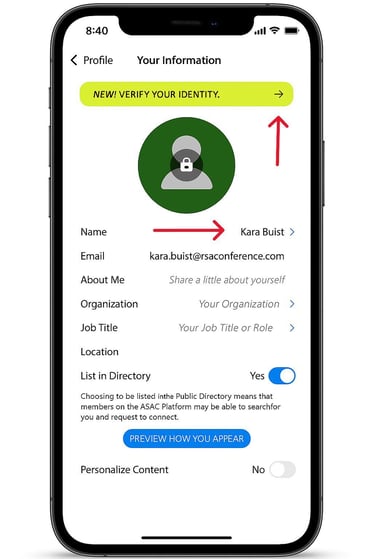
2. Click Your Information.

3. Be sure the Name section matches the name on your identification.
- If you’d like to use a preferred name within the community instead of your legal name, follow these steps:
- Note your preferred name in the First Name section and go through the verification process.
- If your First Name does not match your verification card, you will be prompted to add a preferred name after you complete the full verification process noted in steps 4-14.
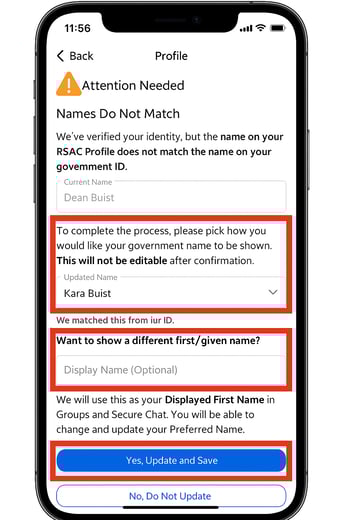
Please note your preferred name plus last name will still appear throughout the platform, and your full name and preferred name will be visible in your profile.
4. Click on the banner Verify Your Identity.
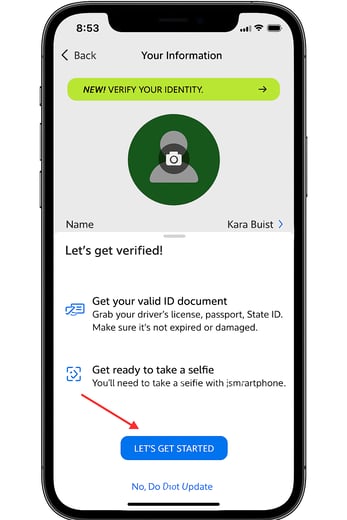
5. Make sure to have your ID Document ready and picture-taking enabled on your phone. Then click Let's Get Started.
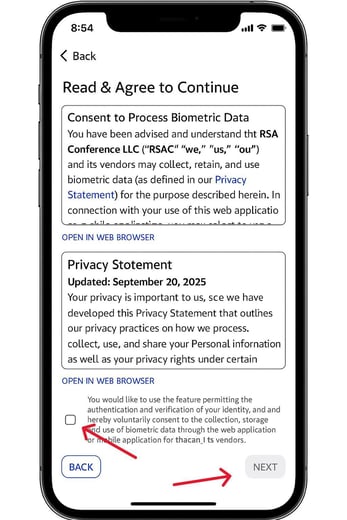
6. You will be prompted to agree to Consent to Process Biometric Data & the Privacy Statement.
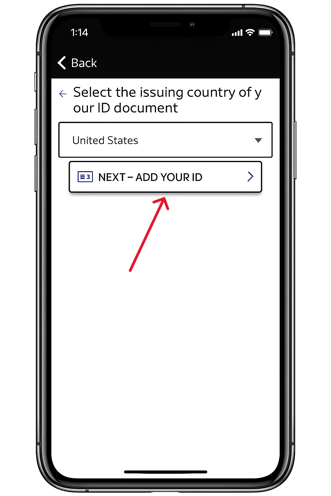
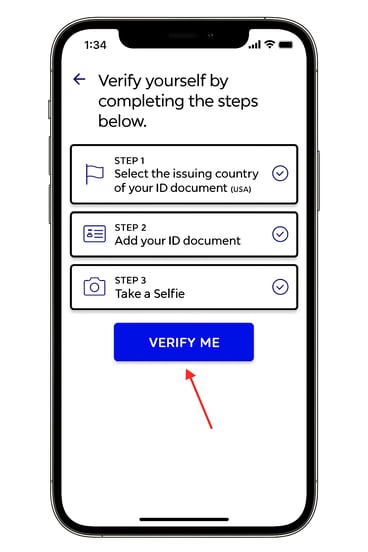
7. Select the issuing country of your ID Document & click Add Your ID Document.

8. Select the type of ID Document you will use to verify yourself & click Next - Capture ID.

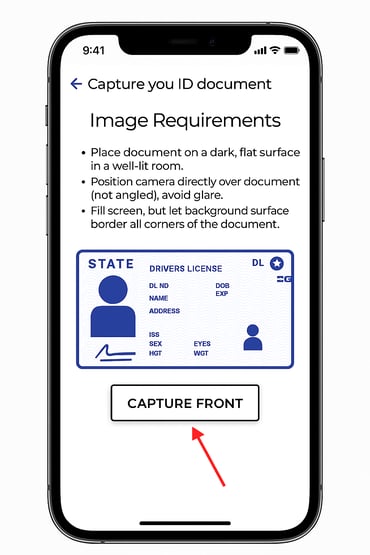
9. When taking a picture of your ID Document, follow these tips to ensure the picture is accepted and verified:
-
Grant access to the mobile device’s camera when prompted by the document upload process.
-
Place your identity document on a dark, flat surface in a well-lit room.
-
Position camera directly over the identity document, not angled.
-
Minimize glare on the identity document.
-
Position camera so the identity document fills the viewfinder, with the document edges at the edge of the viewfinder.
10. Once ready, click Capture Front and take the picture
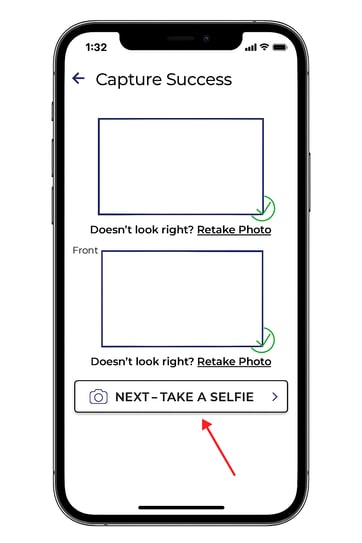
11. Once the front of the ID is captured, click Capture Back and take the picture

12. Next, you will need to take a Selfie. To take a successful selfie, follow these steps:
- Ensure that the room is well-lit, with low-glare and natural light where possible.
- Make sure your entire face is captured within the selfie.
13. Once ready, click Next - Take a Selfie and capture the picture.
14. Then click Verify Me.
🎉Congratulations! You should now be verified!
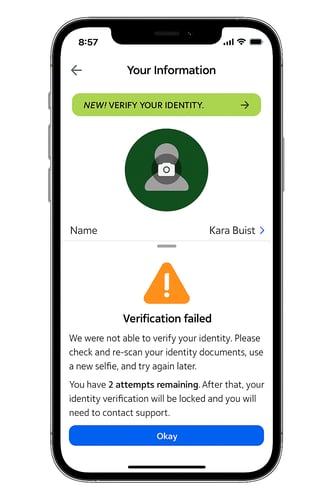
If you receive the following error, review this article for any troubleshooting guidance on IDV or submit a ticket to the customer support team by clicking Contact Us in the upper-right hand corner of this support page.